Events: Difference between revisions
Jump to navigation
Jump to search
No edit summary |
mNo edit summary |
||
| Line 57: | Line 57: | ||
[[File:Events10.png|none|thumb|866x866px]] | [[File:Events10.png|none|thumb|866x866px]] | ||
'''Step 12:''' To return to the '''Student Approval Search page''', click '''Back To Student Approvals.''' | |||
[[File:Back to student approvals1.png|none|thumb|362x362px]] | |||
<center><small>(Navigate to [[Notes|< Notes]] | <b>[[I-Star Student User Guide]]</b> | [[Transportation|Transportation >]])</small></center> | <center><small>(Navigate to [[Notes|< Notes]] | <b>[[I-Star Student User Guide]]</b> | [[Transportation|Transportation >]])</small></center> | ||
Revision as of 13:17, 19 August 2022
Step 1: Events are located in the Student Profile.
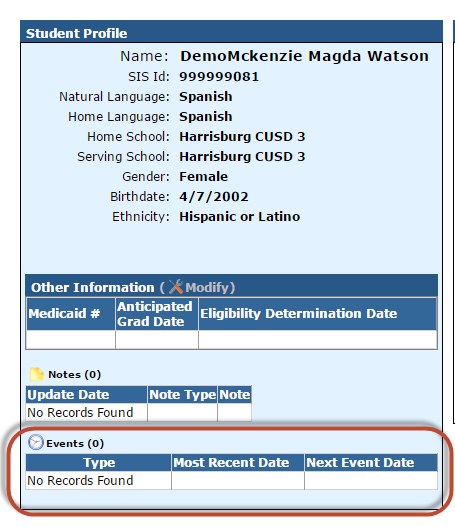
Step 2: To edit or add events, click Events.

Step 3: Click Add.

Step 4: Select the Event Type from drop-down.
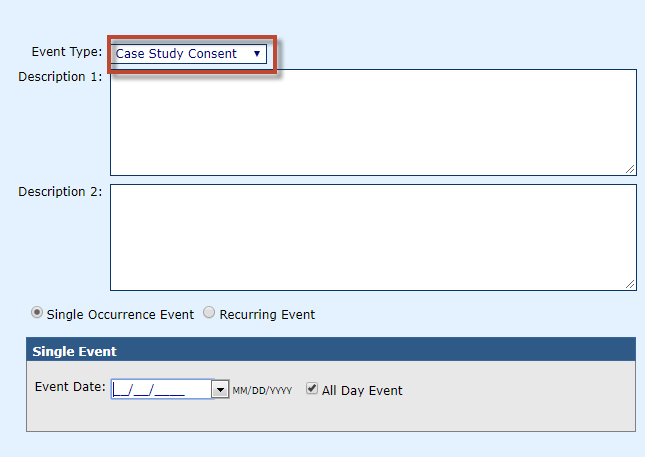
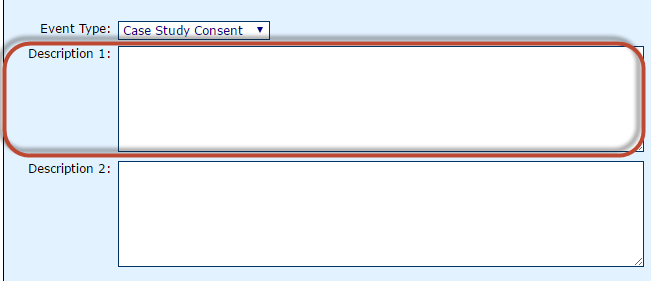
Step 5: Enter Description 1 of the event.
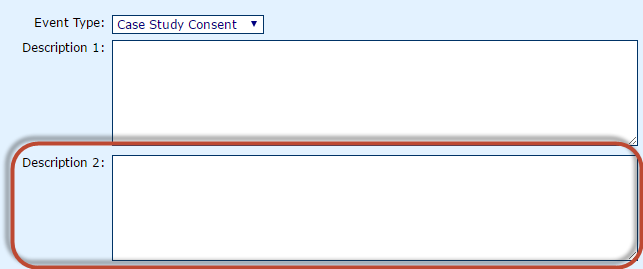
Step 6: If needed, enter Description 2 of the event.
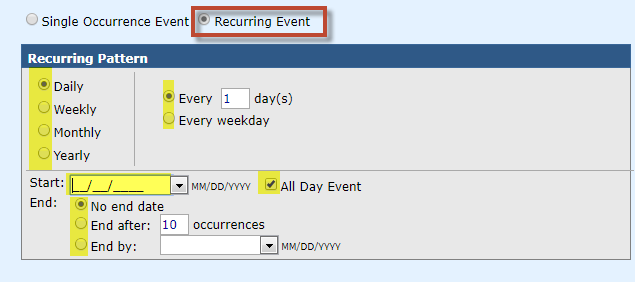
Step 7: Select Single Occurrence Event or Recurring Event.

Step 8: If Single Occurrence Event is selected, enter the Event Date, and determine if this will be an All Day Event by checking the box.

Step 9: If Recurring Event is selected, determine the Recurring Pattern below.
Step 10: Once complete, click Continue.

Step 11: To return to the Student Profile, click Return to Profile.

Step 12: To return to the Student Approval Search page, click Back To Student Approvals.
