Notes: Difference between revisions
Jump to navigation
Jump to search
mNo edit summary |
mNo edit summary |
||
| Line 6: | Line 6: | ||
'''Step 2:''' Click on the '''student profile''' icon. | '''Step 2:''' Click on the '''student profile''' icon. | ||
[[File:Studentprofile11.png|none|thumb]] | [[File:Studentprofile11.png|none|thumb]] | ||
'''Step 3:''' '''Notes''' are located in the '''Student Profile.''' | '''Step 3:''' '''Notes''' are located in the '''Student Profile.''' | ||
| Line 39: | Line 40: | ||
[[File:Notes6.png|none|thumb|623x623px]] | [[File:Notes6.png|none|thumb|623x623px]] | ||
'''Step 10:''' To return to the ''student approval search'' page, click the '''Return to Profile''' link at the top of the Notes page. | '''Step 10:''' To return to the ''student approval search'' page, click the '''Return to Profile''' link at the top of the Notes page. | ||
Latest revision as of 10:22, 9 September 2022
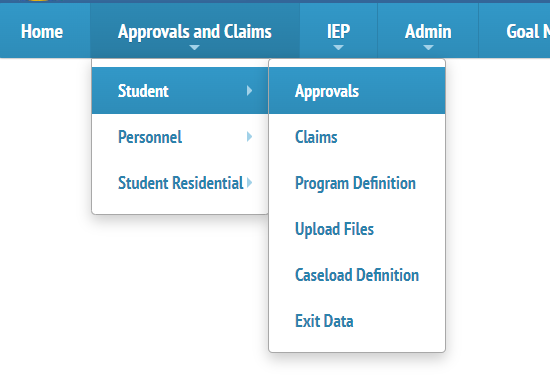
Step 1: To add/edit notes, search for the student approval that requires edits.

Step 2: Click on the student profile icon.

Step 3: Notes are located in the Student Profile.

Step 4: To edit/add notes, click Notes.

Step 5: Click Add.

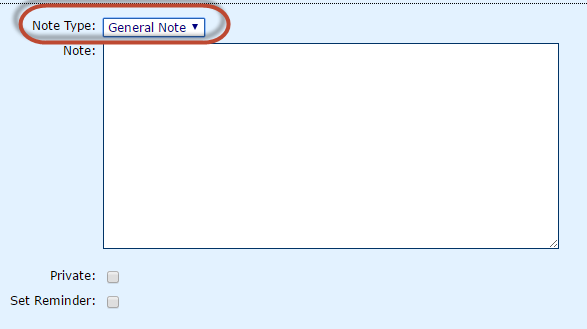
Step 6: Select Note Type.

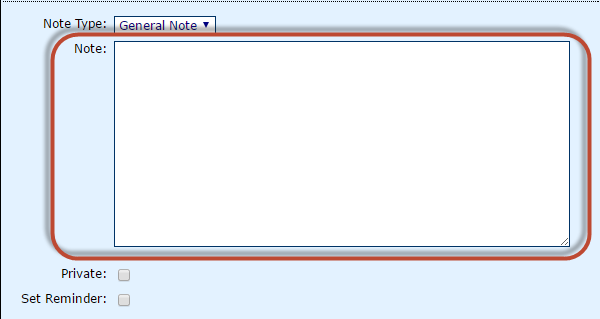
Step 7: Enter the description of the Note.

Step 8: To set as Private or Set Reminder, check the box.

Step 9: When complete, click Save.

Step 10: To return to the student approval search page, click the Return to Profile link at the top of the Notes page.
