NEW! Import Files for Early Childhood Service Location
The purpose of this new import is to allow districts and cooperatives the ability to edit student approval data in an alternate setting for the new Early Childhood Service Location collection in I-Star.
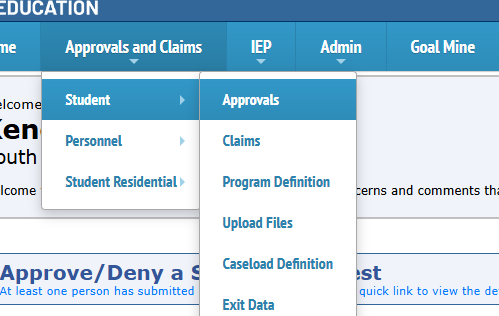
- Login to I-Star go to the Student Approval Search page.
2. From the search page, filter to grade = Preschool.
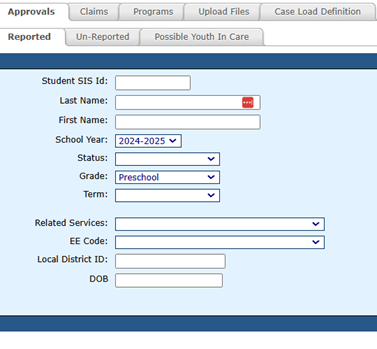
3. Click the "Export using Import Function" button to create an Excel file.

4. When Excel file populates, click "Enable Editing" at the top of the screen.

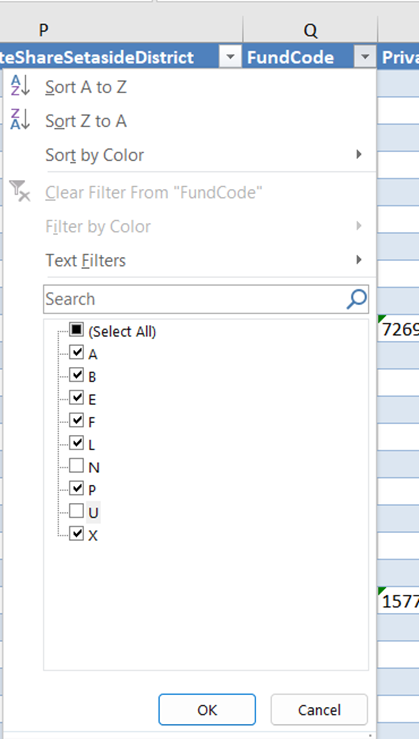
5. From Excel, remove Fund N and U records from the Fund Code column (column Q) as those records are not required to have Special Education Service Location information and click "OK".
6. From Excel, filter by Serving School (Column N).
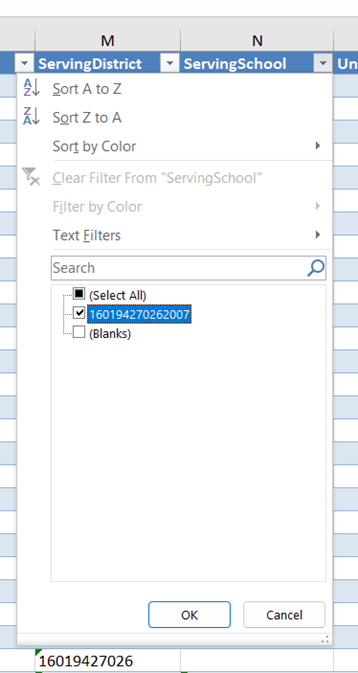
7. For each serving school listed on the Excel spreadsheet, update all columns regarding Special Education Service Location (Column BS - Column BZ)

8. Column BS is required for all preschool students. Column BS must contain a number 1-7. See description of each number below:
- Head Start
- PFA/PFAE (School-Based)
- PFA/PFAE (Community-Based)
- Child Care
- Private Preschool
- Public School District
- Special Ed Cooperative
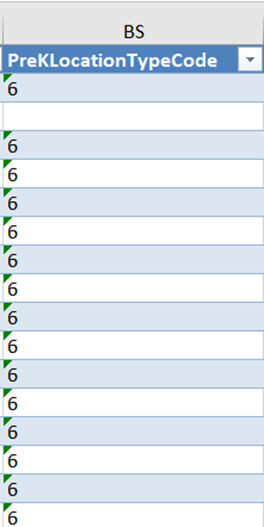
9. Column BT = Receive Majority of Services Box
Column BU = Is Service Location Different Box
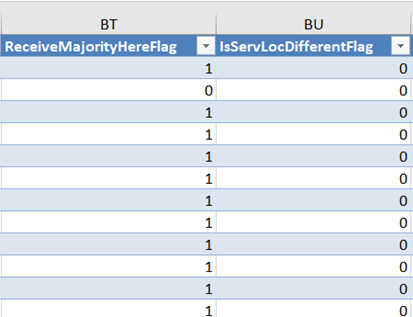
BT = 0 for receiving Majority Of Special Ed services at another location.
BT = 1 for receiving Majority of Special Ed services at this location.
BU = 0 if Special Ed Service Location is the Serving School.
BU = 1 for Special Ed Service Location is different than the Serving School.
10. If BU = 1, then fill in the BV through BZ columns with name and address of serving location.


11. Save spreadsheet once appropriate columns are filled in.

12. From I-Star, click on the "Upload Files" tab.
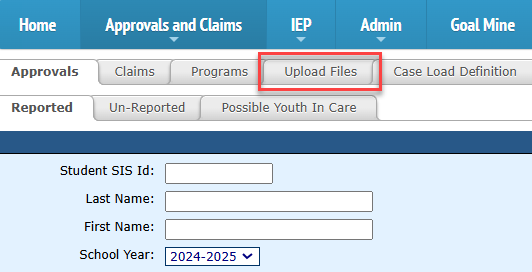
13. Click the "add" button.

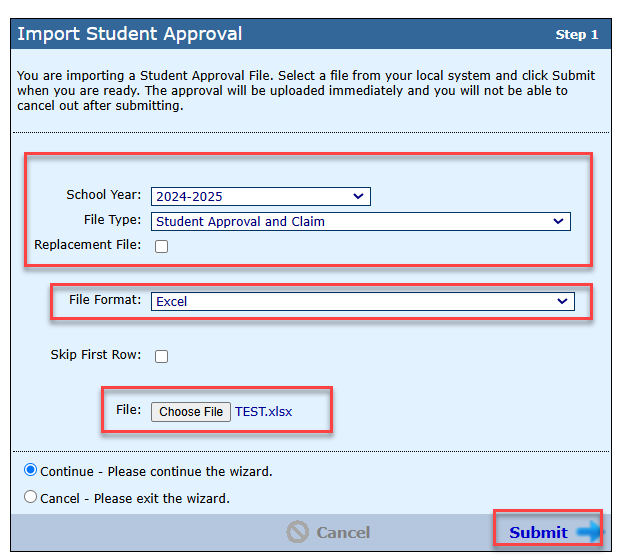
14. Click "choose file" to attach the previously edited Excel document.
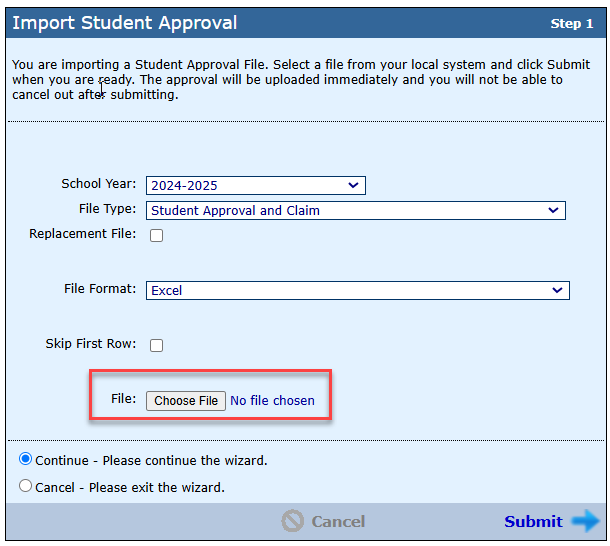
15. Make sure the "Skip First Row" box is checked.
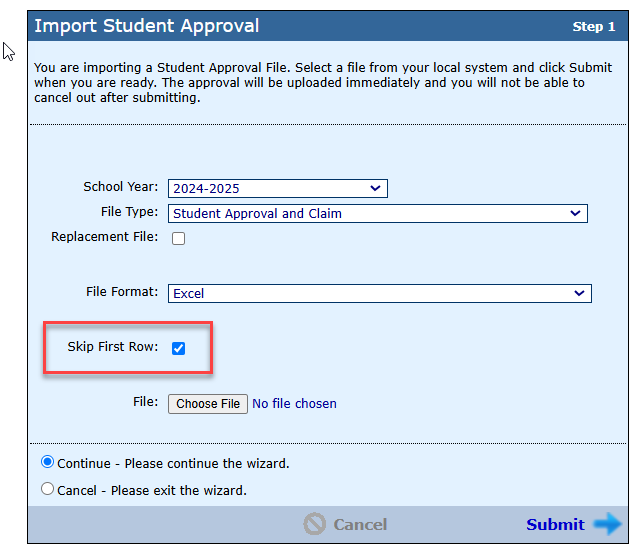
16. Verify all information is correct and click "submit".
17. If the upload was completed successfully, the user will receive a confirmation email once the upload is complete. The confirmation will come to the email that is on file with IWAS.
